


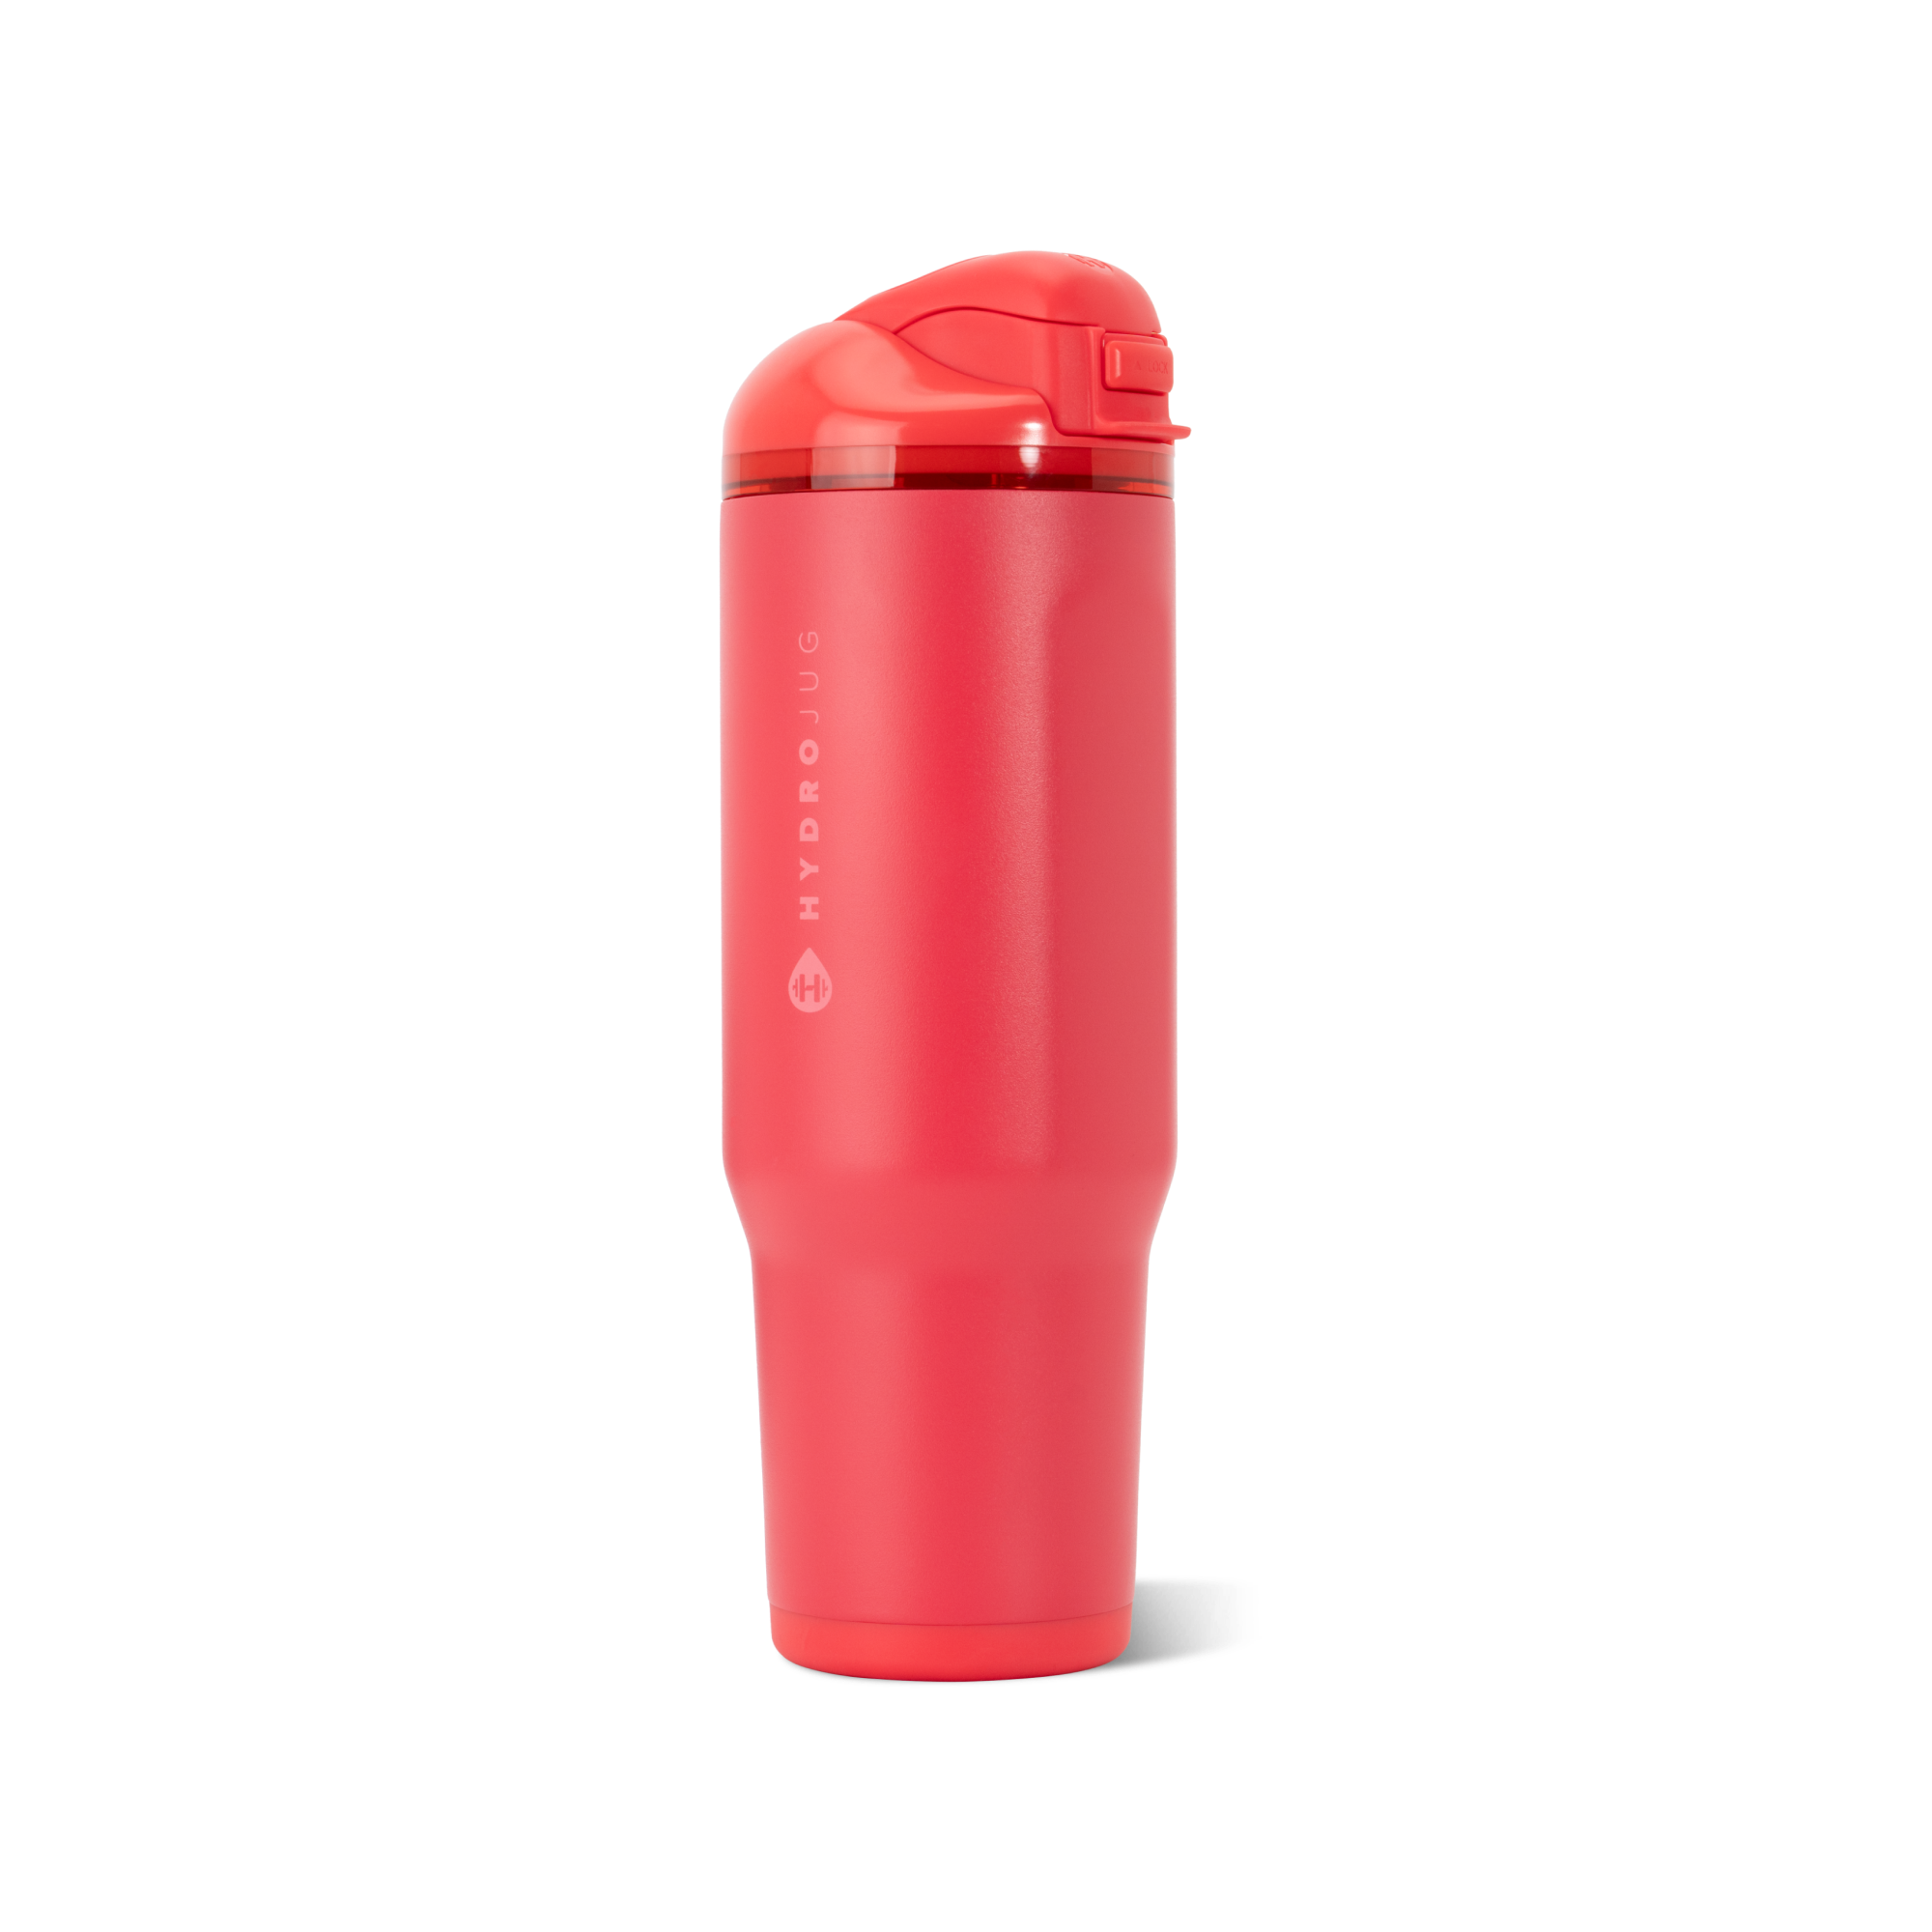
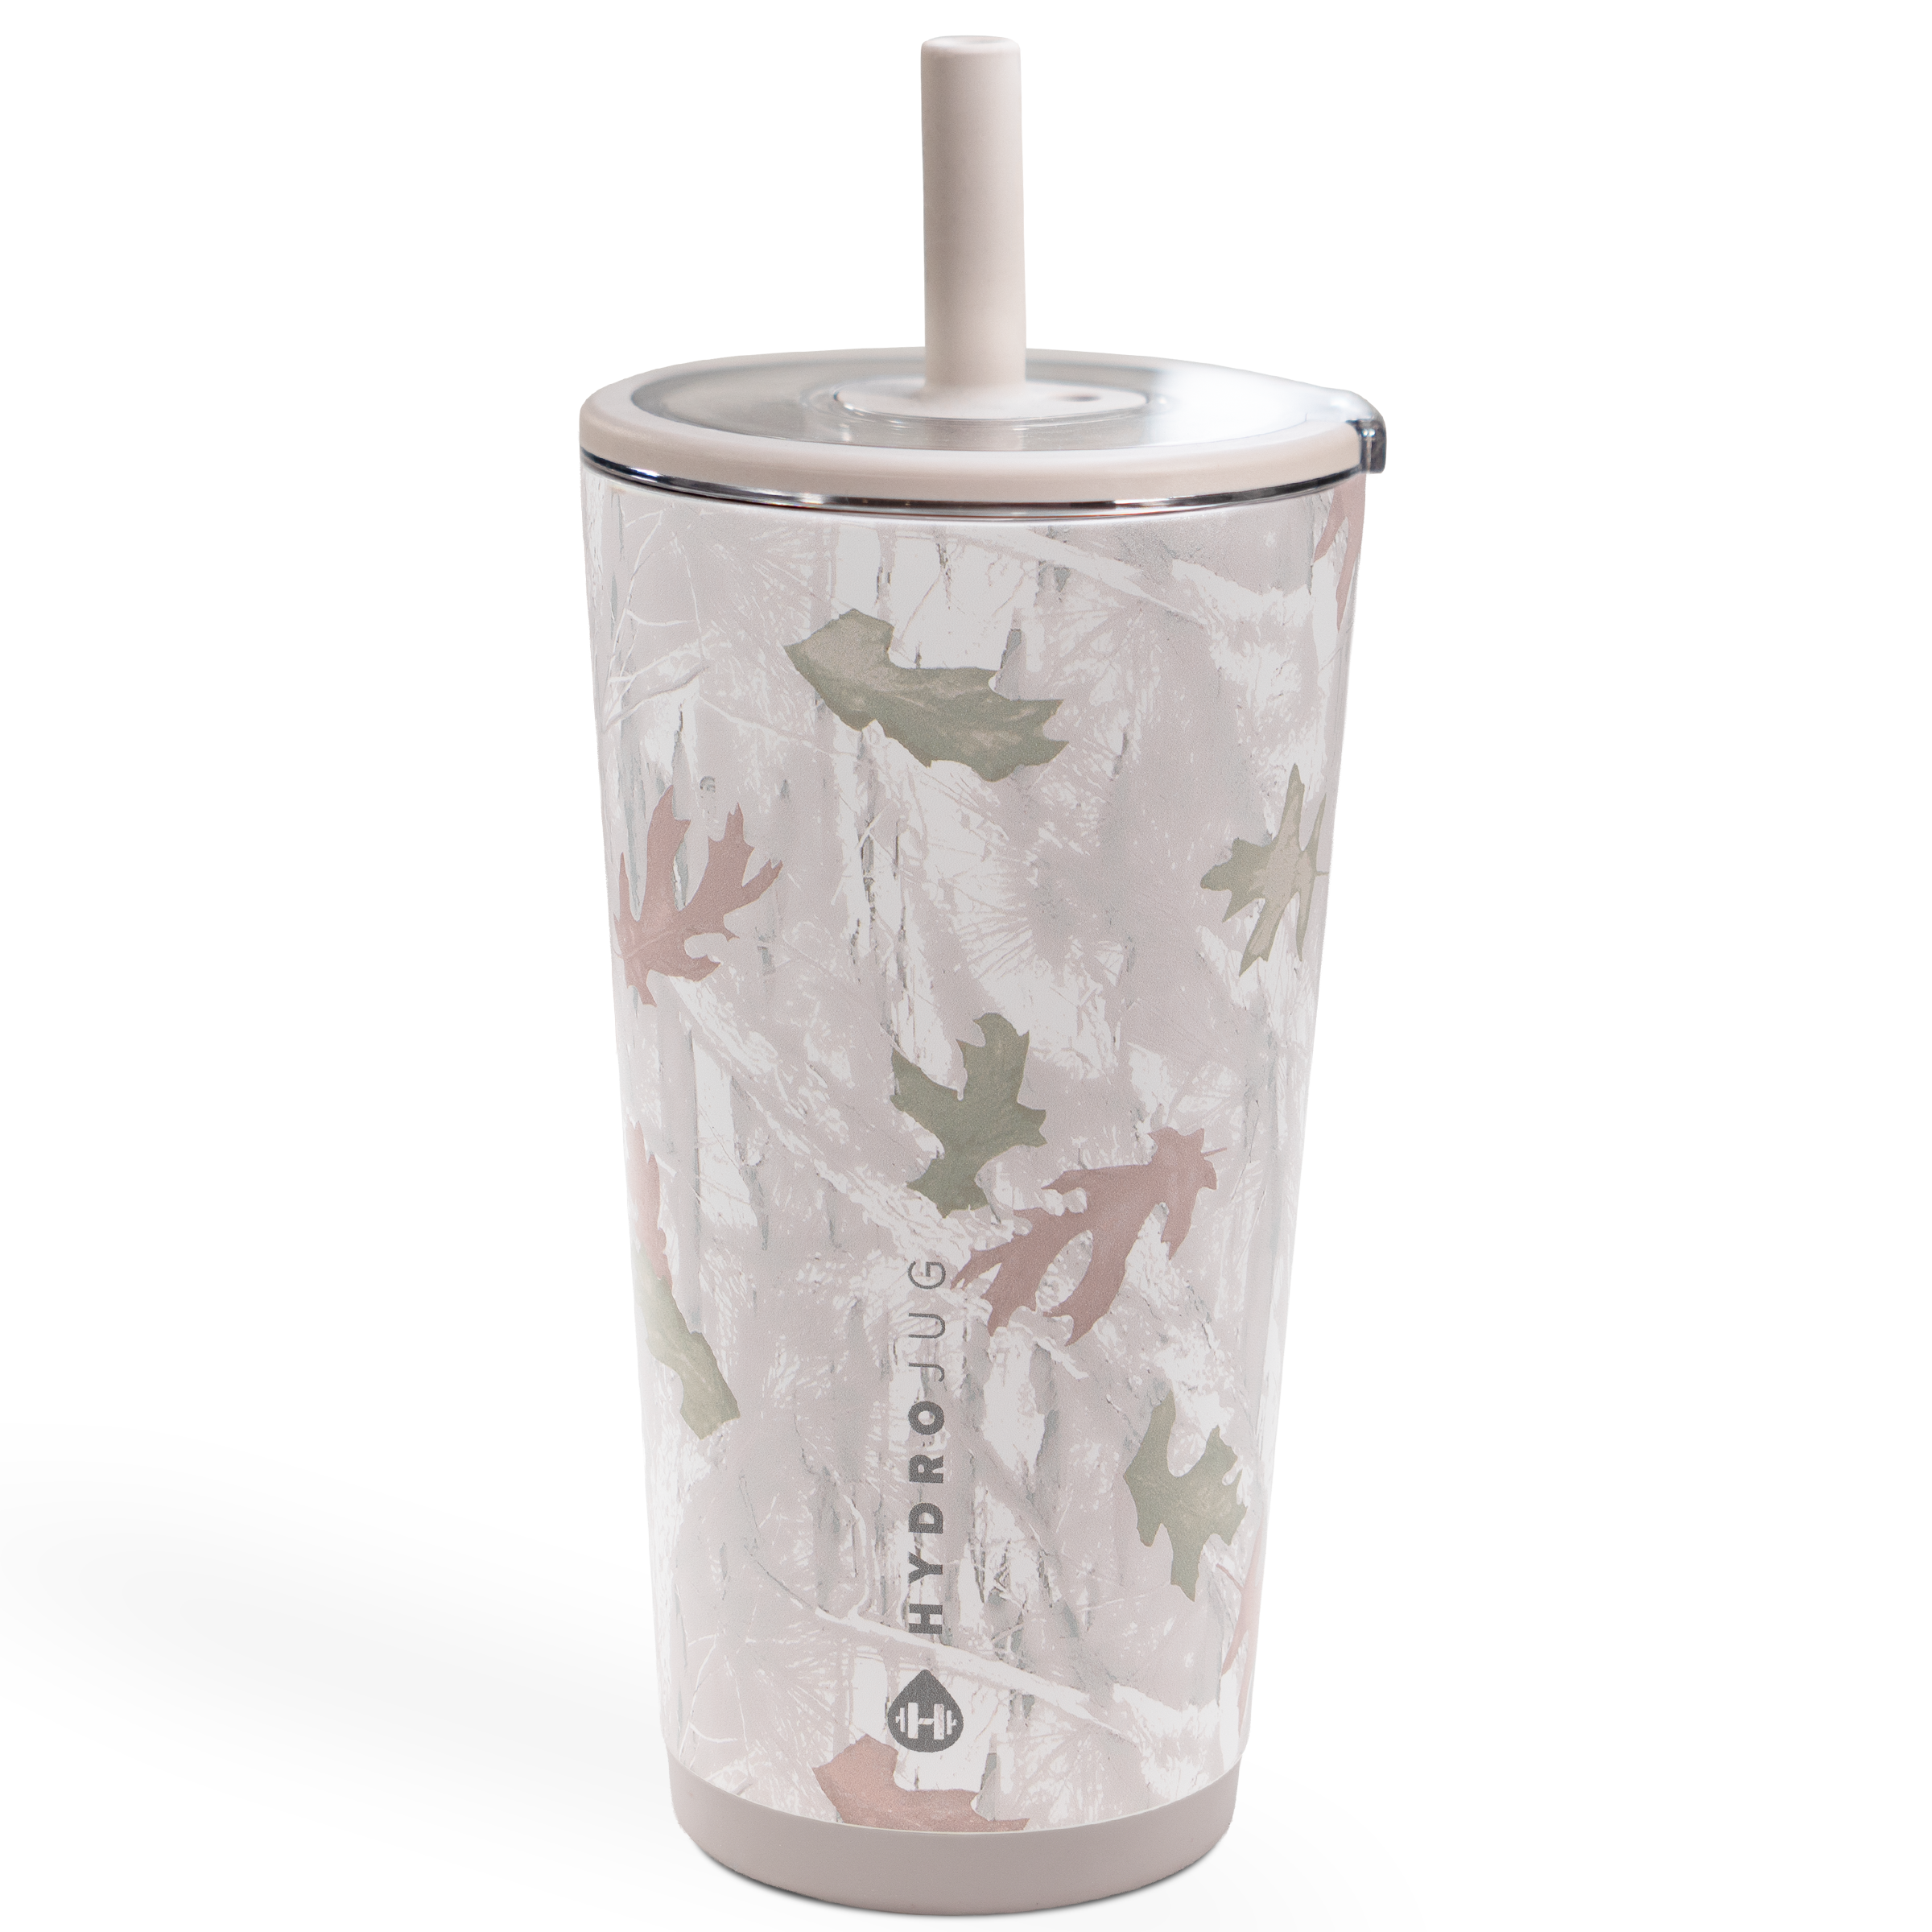
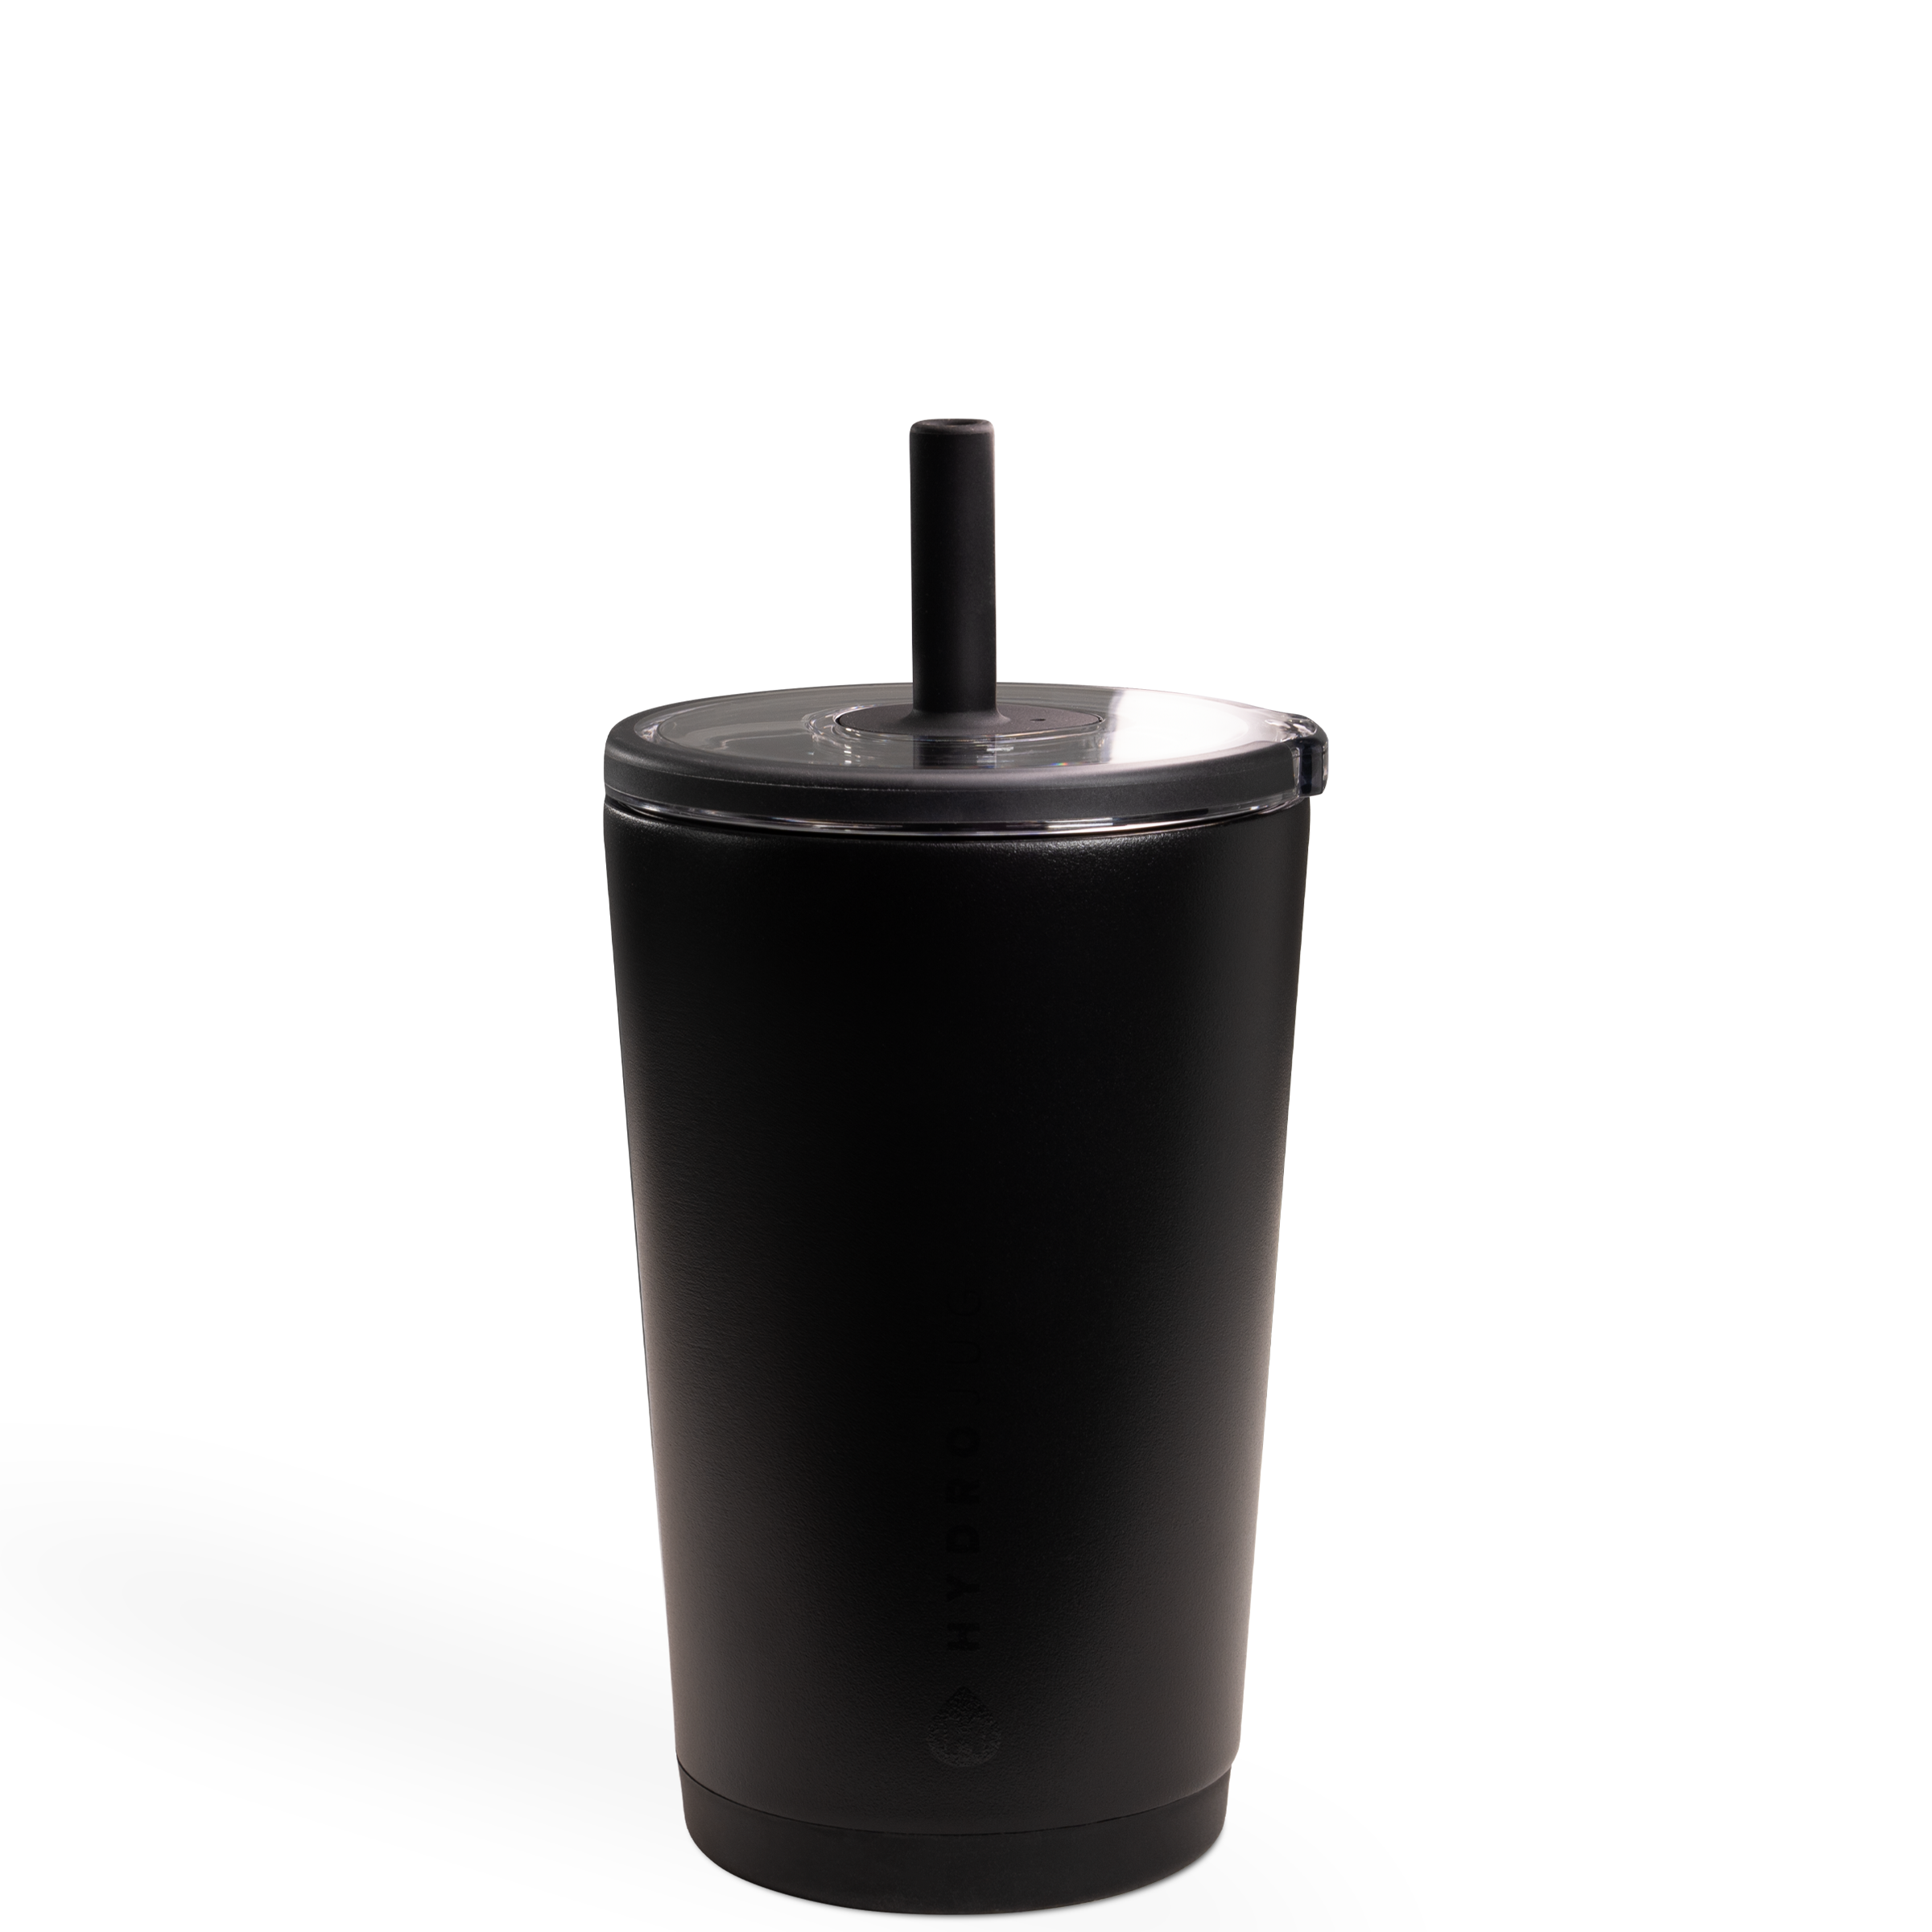

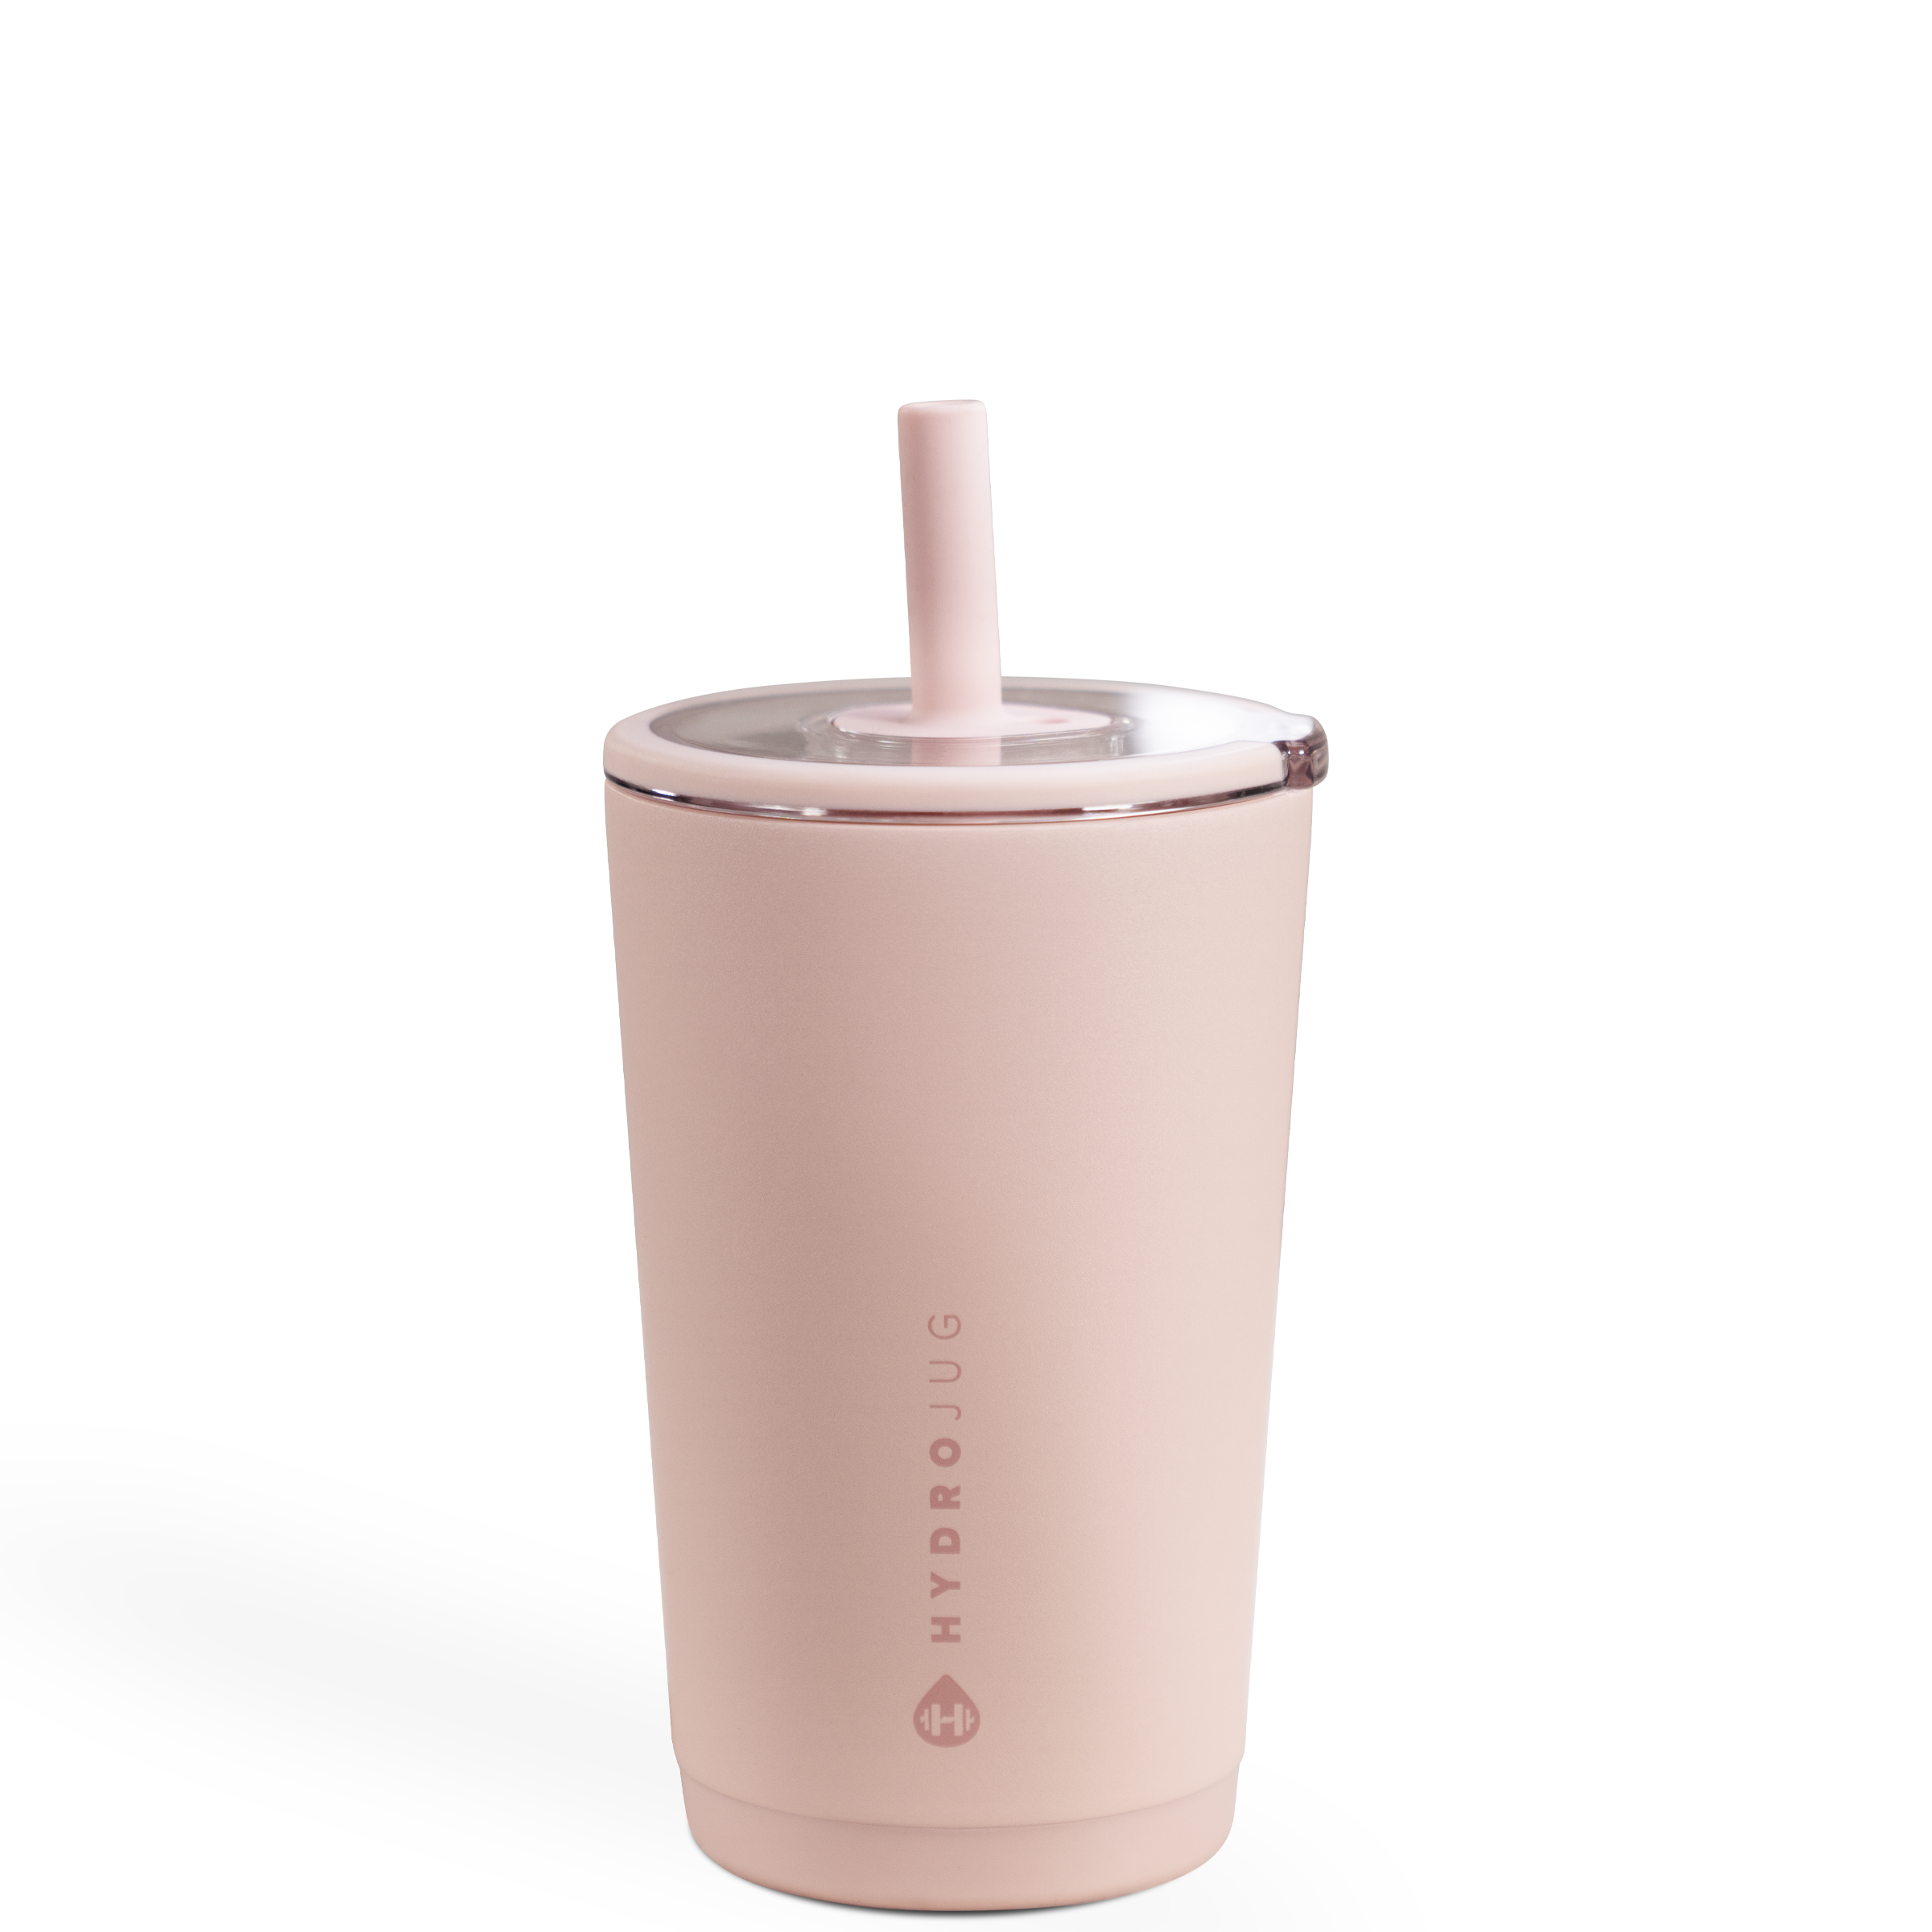
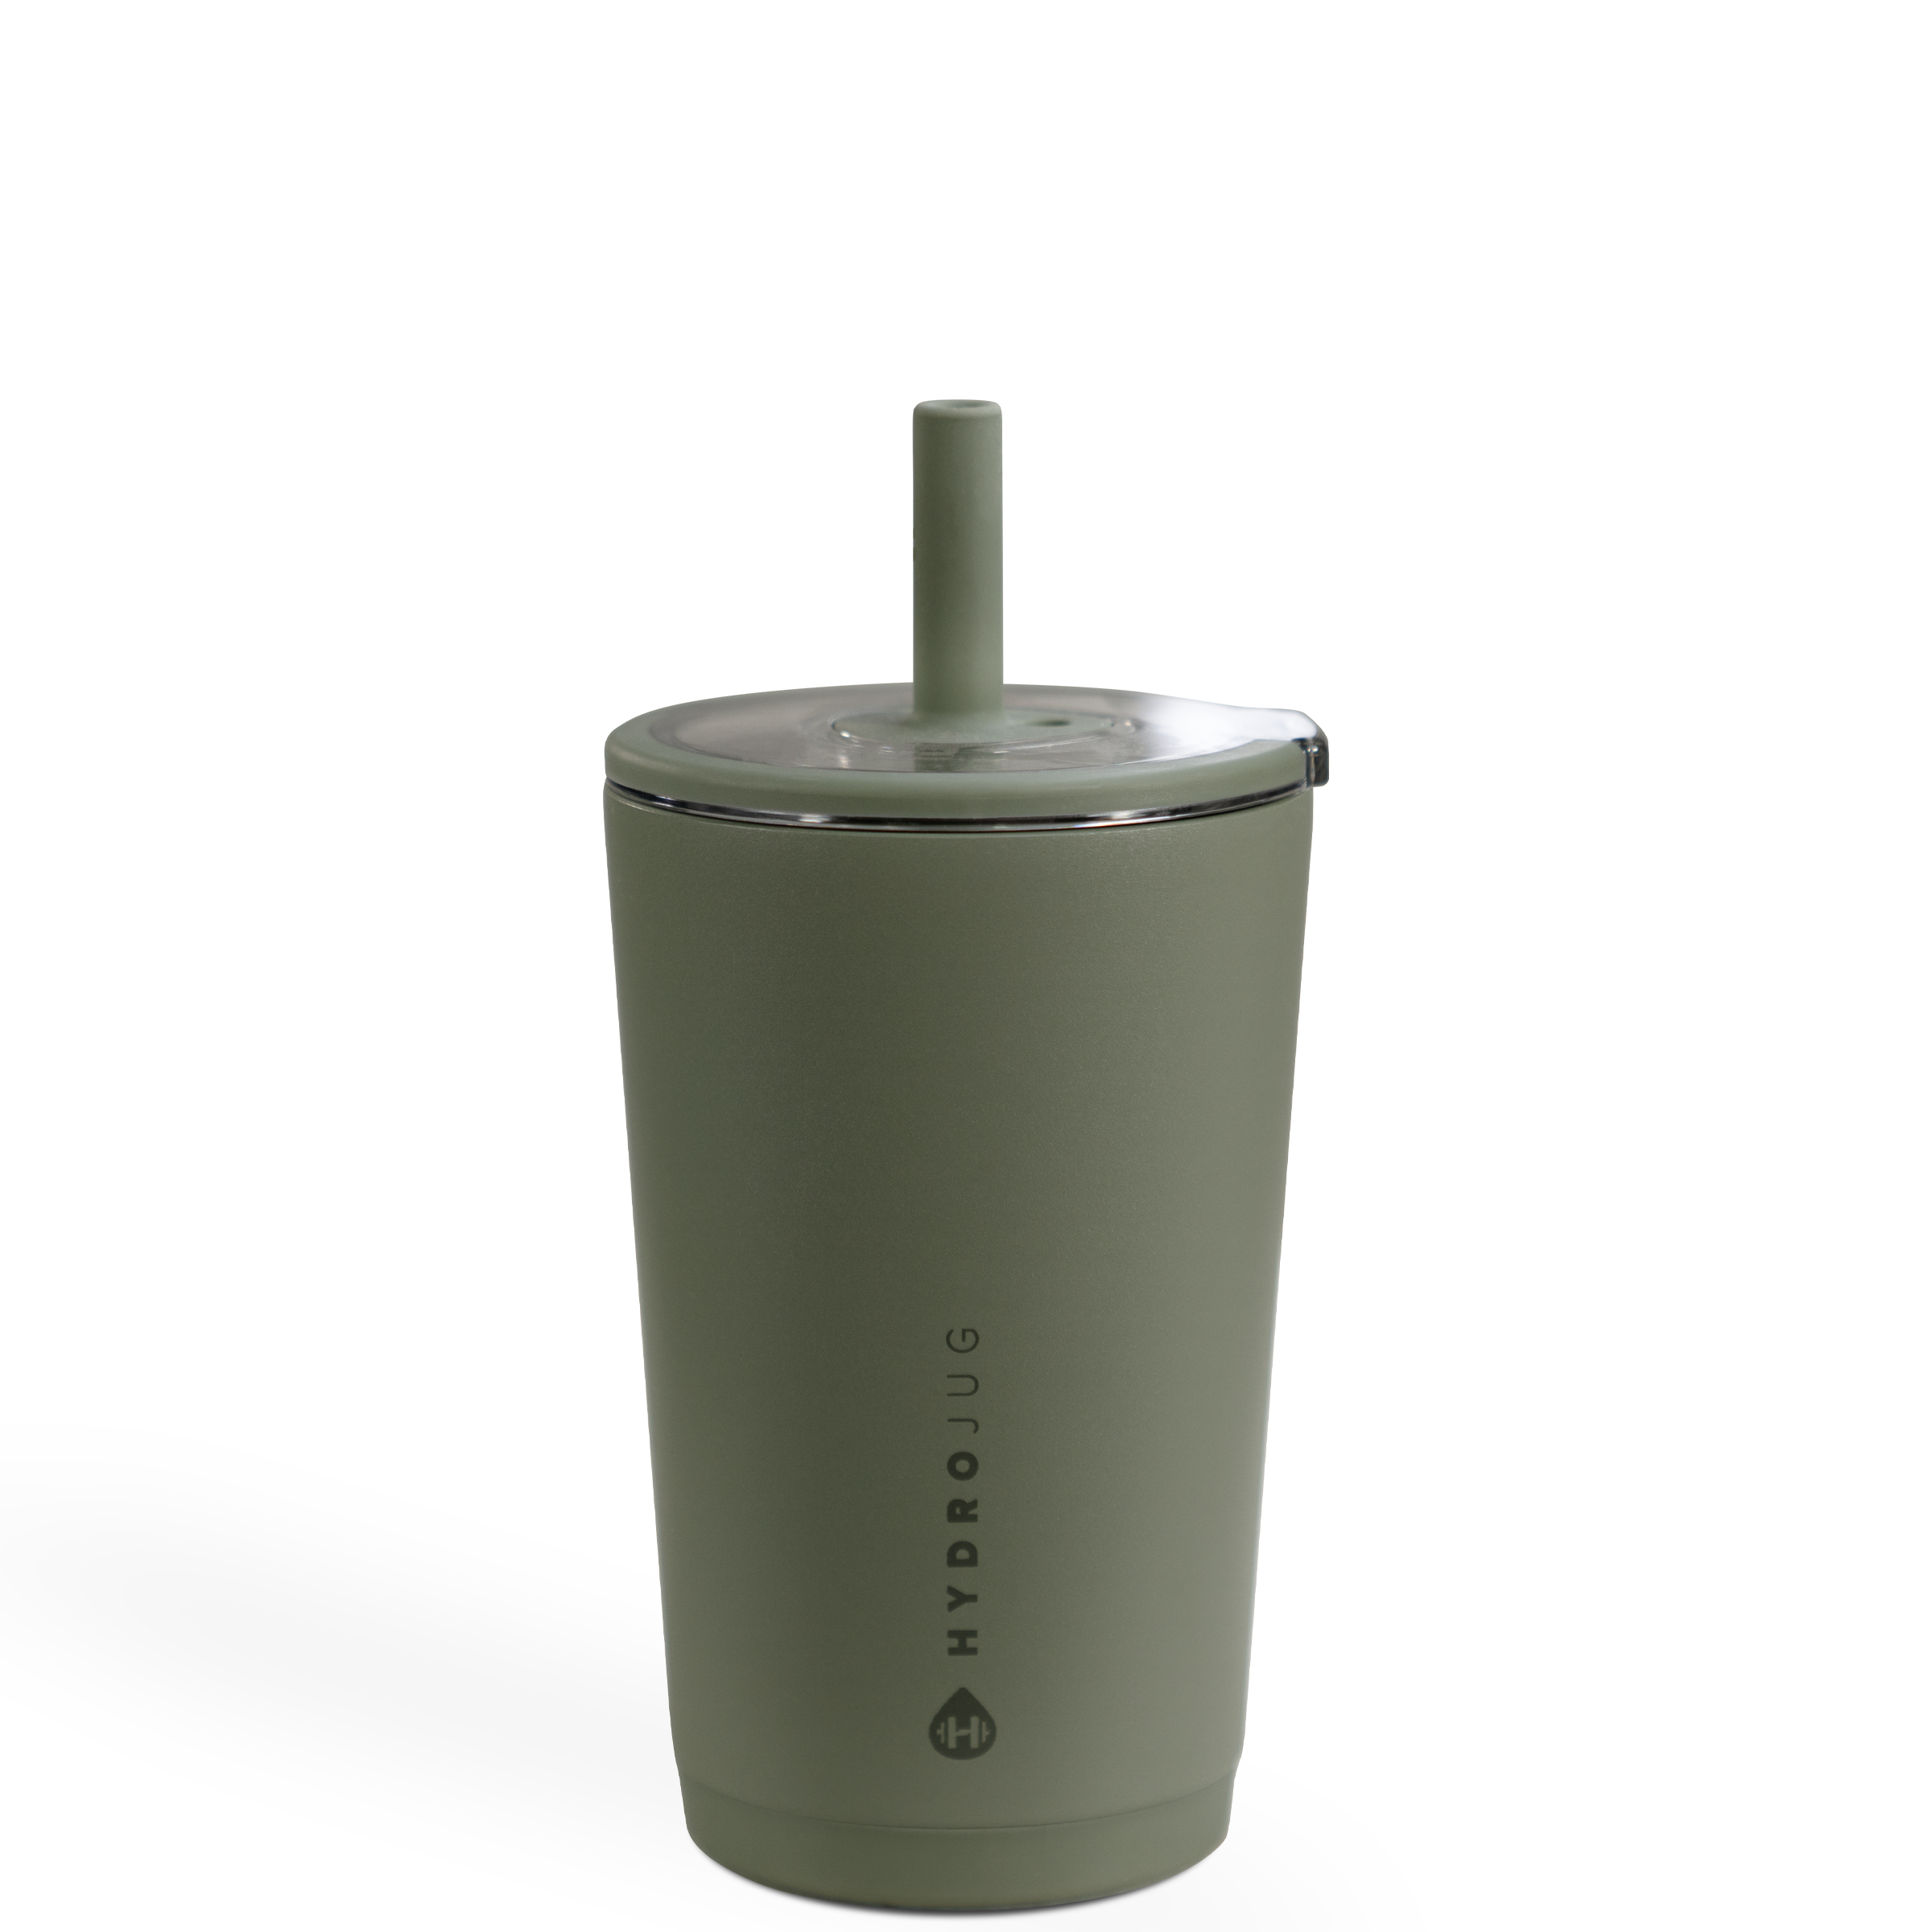
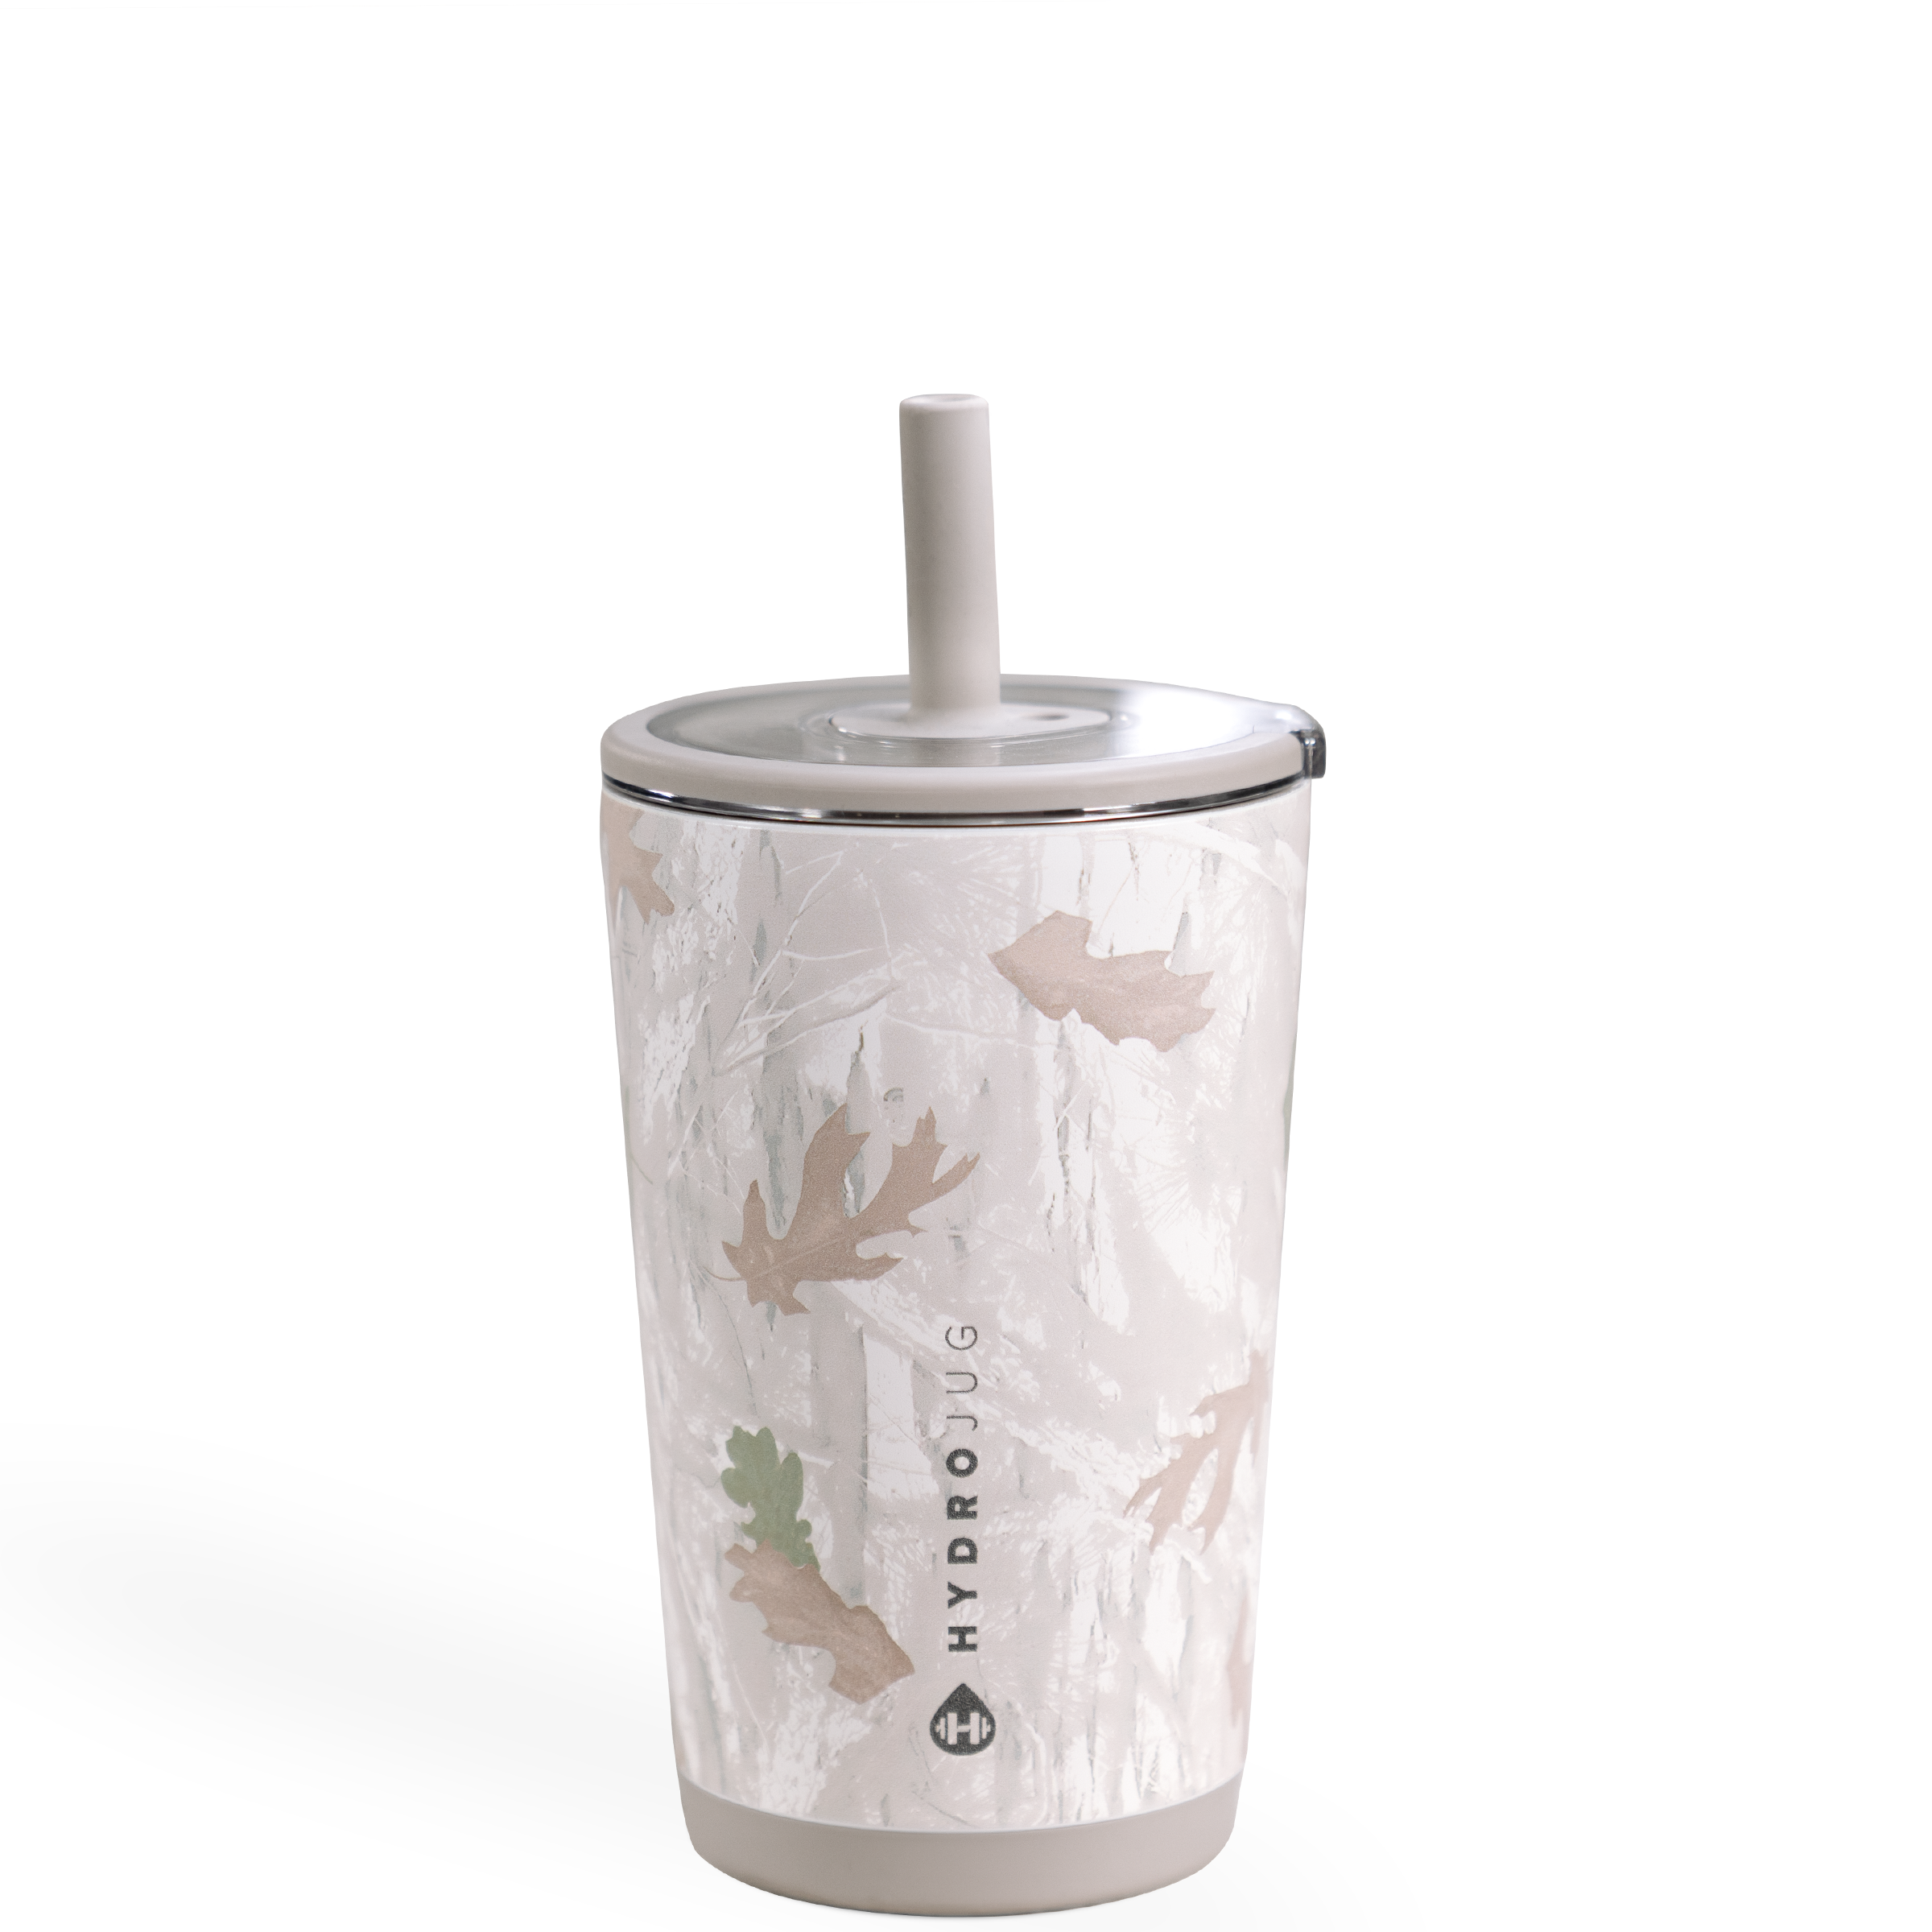
HydroJug Leaking? How to Fix a Lid, Straw, or Gasket in Minutes
A leaking HydroJug lid is almost never the bottle’s fault. In the vast majority of cases, fixing a leaking water bottle comes down to one of four things: a gasket that’s shifted out of position, a lid that’s been cross-threaded, a straw that isn’t fully seated, or residue build-up that’s preventing a clean seal. None of these require a replacement. This guide walks you through every fix in order – from the quickest two-second check to the full deep clean – so you can get back to drinking without a damp bag.

01 – Why Is My HydroJug Leaking?
Before fixing anything, it helps to know which type of leak you’re dealing with. Most HydroJug leaks fall into one of four categories:
- Gasket leak – the rubber seal has shifted, twisted, or come loose from its groove. This is the most common cause and the easiest fix.
- Threading leak – the lid has been cross-threaded, so it’s sitting at a slight angle and not sealing flush. It may look closed but it isn’t.
- Straw leak – the straw isn’t fully inserted, is the wrong size for the bottle, or has a small split that’s letting liquid through.
- Residue seal failure – build-up in the lid channels or around the gasket groove is preventing the seal from sitting flat. Looks sealed, leaks anyway.
Work through the sections below in order. Most leaks are fixed by step one.
02 – How to Reseat a HydroJug Gasket
The gasket – the rubber ring inside your lid – is what creates the watertight seal when you close your HydroJug. If it shifts even slightly out of its groove, the seal breaks. This happens most often after washing, when the gasket can pop out or twist during the rinse cycle.
How to tell if the gasket is the problem
- Remove the lid and look at the gasket from the inside. It should sit flat and even all the way around the groove.
- Run your finger around it. If it feels raised in any spot, or if you can see it’s twisted or sitting proud of the groove, that’s your leak.
- If the gasket has fallen out entirely, it just needs to be pressed back in.
How to reseat the gasket
- Start at any point on the gasket and press it firmly into the groove with your thumb.
- Work your way around in one direction, pressing the gasket flat as you go.
- Once you’ve gone all the way around, check that no section is raised, twisted, or sitting above the groove edge.
- Press the full circle one more time to confirm it’s seated evenly.
- Fill the bottle and test before putting it in your bag.
You could also wath our video How to clean the HydroJug Traveler (includes lid disassembly and gasket reseating).
If the gasket keeps popping out after reseating, inspect it closely. A gasket that has been overstretched, cracked, or nicked at any point won’t hold its position. At that stage it needs replacing, not reseating.
03 – How to Fix a HydroJug Lid That Won’t Seal
If the lid looks closed but still leaks – or if it feels slightly uneven when you tighten it – cross-threading is the likely cause. Cross-threading happens when the lid starts at a slight angle and the threads engage incorrectly. It’s easy to do when you’re in a rush, and just as easy to fix.
How to fix cross-threading
- Fully unscrew the lid and remove it.
- Place the lid back on the bottle opening without twisting. Let it sit flat on top.
- Rotate the lid backwards (counter-clockwise) slightly until you feel the threads click into their starting position.
- Now tighten slowly and evenly. You should feel smooth resistance all the way around, not a catch or grind.
- Stop when the lid is snug – not over-tightened. Over-tightening stresses the threads and the gasket without improving the seal.
- Fill and test.
A correctly threaded lid feels smooth and even as it closes. If you feel any grinding, back it off and start again.
Removable Lid – additional check
- The Removable Traveler Lid and Removable Sport Lid have a detachable straw assembly that locks into the lid. If the straw assembly isn’t fully locked – even by a fraction – the lid won’t seal correctly regardless of how well the gasket is seated.
- Remove the straw assembly, reseat it, and press firmly until it locks. You should feel a definite click. Then re-thread the lid and test.
04 – How to Fix a Leaking HydroJug Straw
A straw that leaks around the port – where it enters the lid – is usually one of three things: not fully inserted, the wrong size for the bottle, or split.
Check the straw is fully seated
- Push the straw down firmly into the port until it stops. It should feel secure, not loose.
- If it keeps slipping out or feels loose even when pushed in, the straw may be worn or the port may need cleaning.
Check you have the right straw
- HydroJug straws are sized per bottle – a 40oz Traveler straw is a different length and diameter to a 32oz Sport straw. Using the wrong straw is a common cause of both leaking and poor draw.
- Match the straw to your exact bottle line and size. Replacement straw packs are available for every HydroJug model.
Check for splits or damage
- Hold the straw up to the light and flex it slightly. A split – even a hairline one – will let liquid through under pressure.
- If you see any cracking, cloudiness, or a loose fit at the tip, replace the straw. Straw packs come in 4-packs for every bottle line and size – it’s the fastest fix.
Shop replacement straws by bottle line and size.
05 – Ease2o-Specific Fixes
The Ease2o has a few design-specific things to check that don’t apply to Traveler or Sport bottles.
Straw assembly not locked in
- The Ease2o lid uses a removable straw assembly that locks into place. If it hasn’t clicked fully into its locked position, the lid won’t seal correctly.
- Remove the straw assembly, reseat it, and press until you feel or hear it lock. Then test before use.
Silicone straw damaged
- The Ease2o’s soft silicone straw is more flexible than a standard straw, but it can develop small tears with extended use – especially if it’s been bitten or pulled at the tip.
- Inspect the silicone straw along its full length. Any tear or deformation at the tip will cause leaking or spray. Replace the straw pack if damaged.
Vent port blocked
- The Ease2o’s venting technology equalizes pressure inside the bottle before you open it. If the vent port is blocked by residue, pressure can build and cause unexpected spray when the lid is opened.
- Clean the vent port with a small brush or rinse under running water. If you notice more resistance when opening than usual, the vent is worth checking first.
06 – When a Deep Clean Fixes the Leak
Sometimes what looks like a seal failure is actually residue. Protein drinks, electrolytes, dairy, and sweet beverages leave build-up in lid channels and around the gasket groove that can prevent the gasket from sitting flat – even when it looks fine. If your HydroJug has been used daily for a few weeks without a deep clean and has started leaking, try this before replacing anything.
- Remove the lid, straw, and gasket completely.
- Soak all parts in warm, soapy water for 15–20 minutes.
- Use a small detail brush to scrub the lid channels, threads, and gasket groove. A straw brush works well for the straw interior.
- Rinse everything thoroughly until the water runs clear and no scent remains.
- Air-dry fully – all parts separately – before reassembly.
- Reseat the gasket, reinsert the straw, and test with a full bottle before use.
For full deep-clean instructions by product, visit our Product Care Guide.
07 – When to Replace Instead of Fix
Most leaks are fixable. But some aren’t, and it’s worth knowing the signs so you’re not troubleshooting a problem that a replacement part solves in 30 seconds.
Replace the gasket if:
- It keeps shifting out of position even after careful reseating.
- You can see cracks, nicks, or flat spots on the rubber.
- It holds a persistent odor that doesn’t clear after deep cleaning.
- It’s visibly deformed or has lost its round shape.
Note: HydroJug gaskets are integrated into the lid rather than sold separately. Water bottle gasket replacement means replacing the lid – which comes with a new gasket built in.
Replace the straw if:
- It’s split, cloudy, or has any visible cracking.
- It’s loose in the port even when fully inserted.
- It’s hard to draw through after cleaning.
- The tip is bitten, torn, or deformed.
Replace the lid if:
- The hinge or flip mechanism is cracked or no longer clicks shut.
- The locking mechanism doesn’t close firmly or the spout won’t seal.
- The threads are visibly damaged or the lid sits unevenly even when correctly threaded.
- Leaking continues after a new gasket and deep clean.
Shop official replacement lids and straws for every HydroJug model – sized exactly for your bottle line and size.
Frequently Asked Questions
Quick answers to the most common HydroJug leak and seal questions.
Why is my HydroJug lid leaking?
The most common causes are a gasket that has shifted out of its groove, a lid that’s been cross-threaded, a straw that isn’t fully inserted, or residue build-up preventing the seal from closing flat. Work through each fix in order starting with the gasket – it solves the problem in most cases.
How do I stop my HydroJug from leaking?
Start with the gasket: remove the lid, check that the rubber ring is seated flat and evenly around the groove, and press it back into position if it’s shifted. Then re-thread the lid slowly from the correct starting position. If it still leaks, check the straw is the right size and fully inserted, then do a full deep clean of the lid channels and gasket groove.
Why does my HydroJug lid not seal properly?
A lid that looks closed but doesn’t seal is almost always a gasket or threading issue. The gasket may be twisted or sitting proud of the groove in one spot – it only needs to be off by a millimetre to break the seal. Or the lid has been cross-threaded and is sitting at a slight angle. Both are fixed in under a minute using the steps in this guide.
Can I fix a leaking HydroJug gasket myself?
Yes, easily. The gasket just needs to be pressed back evenly into its groove. Start at one point and work around the full circle with your thumb until it sits flat with no raised or twisted sections. If the gasket is cracked or keeps popping out, it needs replacing – which means replacing the lid, as gaskets are integrated into HydroJug lids rather than sold separately.
Why is my water bottle straw leaking?
Three things to check: the straw isn’t fully inserted into the port, you’re using the wrong size straw for your bottle, or the straw has a small split. Hold it up to the light and flex it to spot hairline cracks. HydroJug straws are sized per bottle – match the straw to your exact bottle line and size for a leak-free seal.
Is my HydroJug leaking because it needs replacing?
Unlikely. The vast majority of leaks are caused by a shifted gasket, cross-threaded lid, wrongly-sized straw, or residue build-up – all fixable without buying anything new. Only replace parts if the gasket is visibly cracked, the straw is split, or the lid mechanism is physically damaged. If you’ve worked through all the fixes and it still leaks, that’s when a replacement lid or straw makes sense.
Do HydroJug replacement lids and straws fix leaks?
Yes, when the existing part is genuinely worn. Official HydroJug replacement lids come with a new integrated gasket, so replacing the lid also replaces the seal. Replacement straw packs are available in 4-packs for every bottle line and size. Official parts are the only ones guaranteed to fit.